Showing posts with label projects. Show all posts

5.07.2016

Spinning Craft Holder: How To


This will have to be brief, but I had a lot of people ask how I made this for the girls. 
And let me tell you, it has been A BIG HIT! For all of us, because their markers aren't finding dark corners of the house to mate and create little spawn markers to hide in even more places for me to step on or pick up all the live long day. 

Also: WORD OF ADVICE: If you are a very type A person this may not be the best project for you to attempt. Brent could hardly stand watching me. It requires a little fly-by-the-seat-of-your pants and a lot of don't-measure-just-wing-it kind of stuff. [I'm just picturing my sister spending about twelve weeks making this...] 

Okay. Here we go. I didn't take the best pictures but I think you'll get the idea. 


What you need:
PVC PIPE - 
 I used 2 inch and 1 1/2 inch
LAZY SUSAN 
 [my mother in law had one she let me use. She also said if you lived in the 70s and didn't have one of these on your table you weren't cool. Okay, those weren't her exact words. You could search garage sales, thrift stores, or buy one on amazon for about 10 bucks. I believe mine is 10 inch diameter]
 LIQUID NAILS
MITER SAW 
SPRAY PAINT
CRAFT PAINT 
ALL THE MARKERS YOU'VE BEEN STEPPING ON AND THROWING AWAY BECAUSE THE LIDS GOT LEFT OFF
 

First step is to cut your PVC. I just guessed a bit-- I wanted my tallest one to be about the height of a marker [if you wanted to keep paint brushes etc you could make it a little taller] After I knew my tallest one I just cut the rest in 1/2 inch increments smaller. A few of my little ones maybe got too small but whatever, it works. 

And when I say "I cut" I mean my dad cut because he has the miter saw. I just stood behind him and told him what to do. :) 

Also, a miter saw cutting PVC pipe sounds like a newborn crying. At least that is what my body thought. Ask me how I know... :/! 


Okay. Where was I?
You have your PVC cut. Take some sand paper and sand down the edges. You'd be amazed at how sharp that can get in spots. Once they are all sanded, clean them with soapy water and let them dry [this way you know the paint will stick]

Then get out your husband's caulk gun and some liquid nails. Arrange the pipes however you want them on your lazy susan. 
Okay. This was the hardest step, and you just kind of have to wing it. I recommend gluing your middle pipes together and letting them dry. Once you have that chunk started, start gluing others to it. I glued all the pipes together and then glued the whole piece onto the lazy susan. 
An extra pair of hand here would be fantastic! 
 

Your glue will smoosh out the bottom edges. It's okay. I took a paper towel and wiped it off the best I could around the outside edges that would show, but it wasn't perfect. 

Here is what I'm not good at when it comes to crafts: waiting for things to dry. 
But with this one it is pretty important. 
Wait several hours if you can, or overnight for it to dry. It should be a pretty solid mass. 


Once everything is dry you get to spray paint! 
I used a spray primer first, or you could use a spray that has a paint and primer in one. 
Either way I recommend doing it outside and not in your laundry room with windows open or your house will smell like spray paint fumes for days. [That's good for a newborn, right?]

Again. Be patient. I waited for the first coat of paint to dry overnight, then did another good, heavy coat the next day. I chose white but you could obviously choose any color. A metallic may be cool to try, as it would maybe look like you made it from metal. 


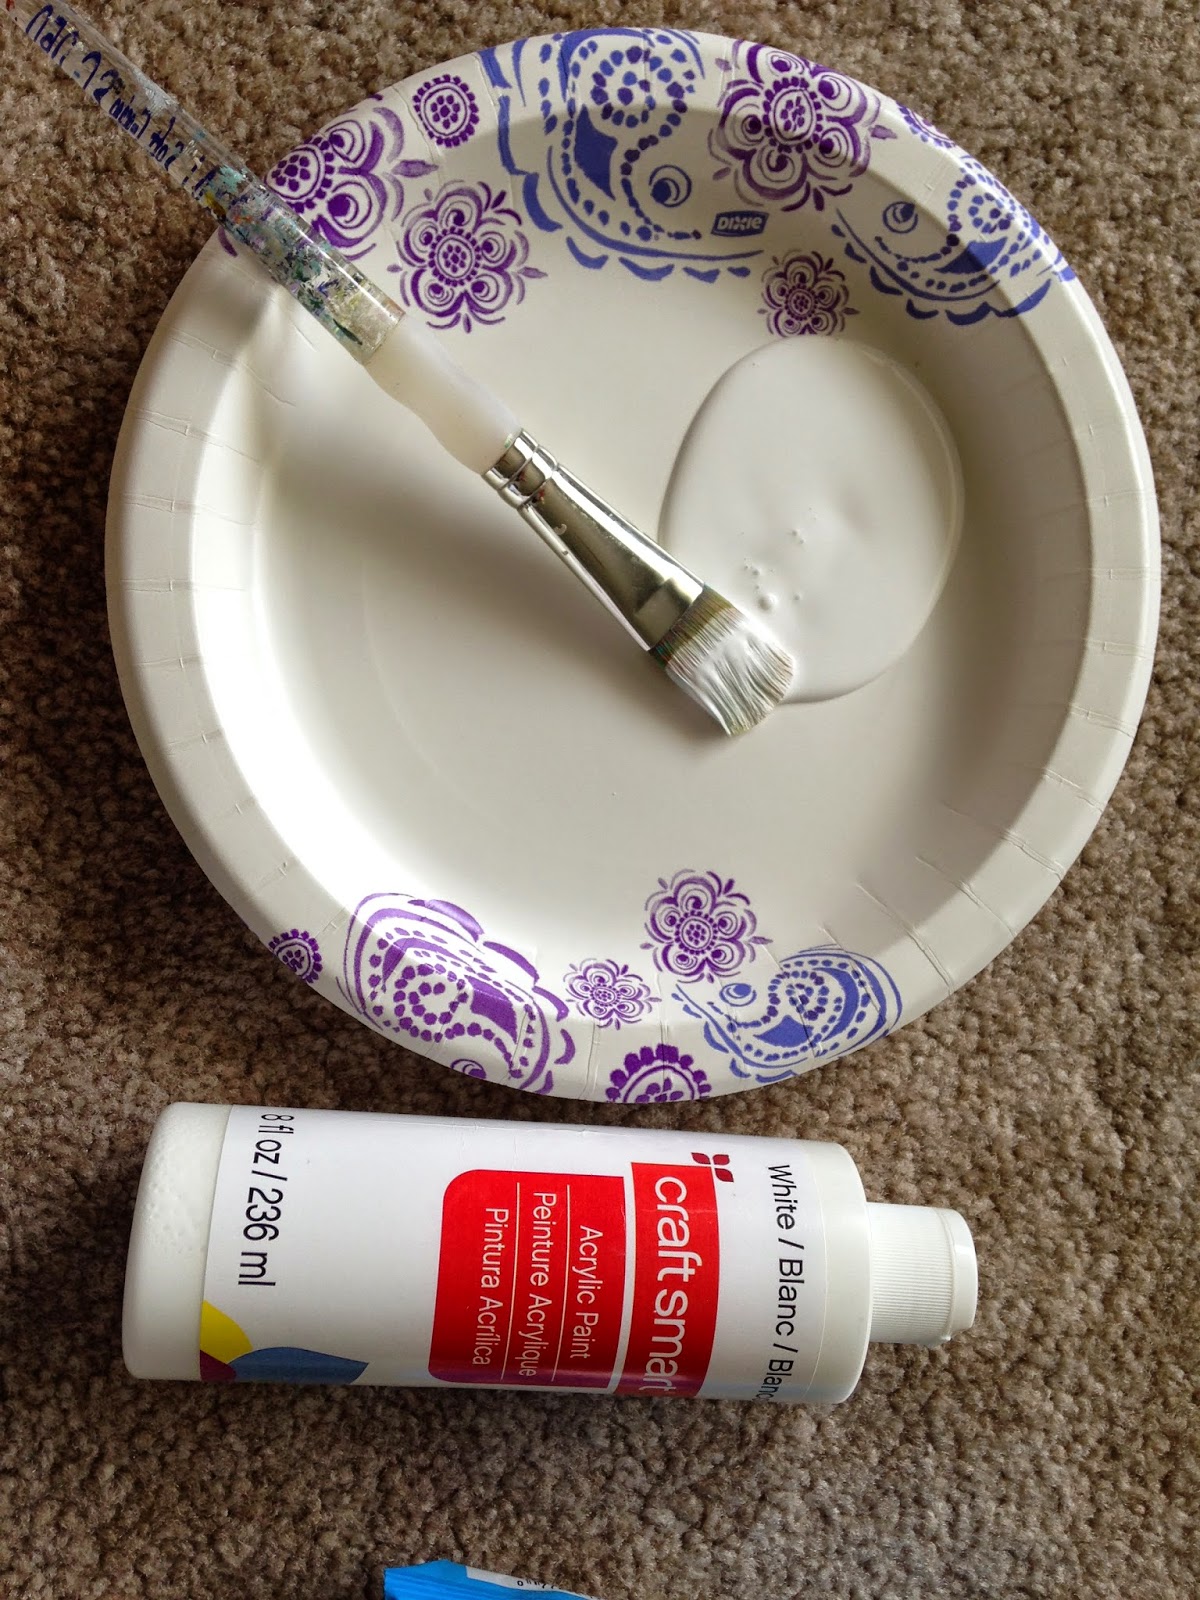
Once the spray paint was dry [or dry-ish, if you're impatient like me], I chose a color I liked for the inside. You wouldn't have to do this step, or you could choose lots of colors. 

This was a little tricky. It was hard to leave clean lines in the bottom of the tubes, as well as around the top. I kept a damp paper towel close by and wiped the edge if I got some on it. The lines aren't perfect. Another reason a perfectionist would struggle. [As you can see in picture below] 


But once it is dry and ready to go, it is so awesome you forget about the imperfections! Trust me! 


Fill with your favorite drawing or craft supplies. I got the girls some of the little pip-squeak markers for the small tubes, and also filled with some crayons etc. 


Voila. 
You're done. Congrats. It really only took me about 2-3 hours total hands on time. Granted my dad cleaned up the mess from the cut pipes. Allow two days though at least so things can dry. 
And maybe don't try to squeeze it in before a second birthday right after you've had a newborn. Just saying. 
But really-- go make one! It is awesome! 


4.08.2015

Giant picture: a cheap and easy tutorial


I first saw how to make these giant pictures on Pinterest years ago. Like, before Pinterest was cool. < That is probably a lie because I rarely do anything before it is cool.  I did it with an up close picture of Blythe at 8 months old, and my land I loved that thing. It hung in our living room until about Christmas this year when I realized, as a second child, that I needed to take it down unless I did one for Becks. Originally I was just going to do a new one for her, but fell in love with one of Blythe's 3 year pictures and so I just went for it with both of them. Here is the best picture I could quickly find of the picture of Blythe...which, yes, is basically just a selfie with me and Becks...but peek in the background. See it?


Okay. But how do you do it? Because you totally should. It's pretty simple. Here is how.

Find a high resolution picture you love. Sorry, but a picture from your phone won't work for this one. Get out your real camera and snap away, or make sure you have a photo release from your photographer. Put that picture on a flash drive [it's a lot easier than pulling it up from an email] and head to your nearest office store [Office Max, Staples, etc.] [Or have an awesome friend volunteer to do this step for you so you don't have to wrangle children in and out of car seats. Your call.] 

Ask for the engineer print. It can only be black and white and it is on paper. Don't let them tell you it is a poster print and let them charge you a photo price. Haggle. You can convince them. I think. Anyway, mine were 2X3 FEET and were just under $5 per picture. Make sure you let the image dry before you roll it up and take it out of the store. These pictures aren't absolutely crisp, but they really are pretty great if you make sure your originally image isn't blurry and is high resolution.


Then run over to Lowes. You could go to Home Depot or Menards, I suppose, but we go to Lowes. Grab some foamboard--it's for home insulation. The person in the vest will know what you're talking about. It's about $11 and you can get at least two pictures [of this size] out of it. If you can fit it in your vehicle full size, don't let them cut it in half for you in the store because in my experience they didn't cut straight and it could lessen the amount of pictures you get out of the board. Just saying. But if they must, just make sure they cut it with enough margins for you to get the pictures out of it that you need. [If you click on the link at the beginning of this post, she shows you how to mount it to a board if you want it sturdier.]

Grab some acrylic paint if you don't have any before you leave the store. [I did black last time because my picture was darker around the edges. I liked the look of it. This time I chose white since my pictures were mostly light around the edges and it looks okay too. You could even do a pop of color is your fancy/cooler than me. ] Also you'll need spray glue if you don't have that.

Now the fun part.
Get out your mom's electric meat knife that she probably got as a wedding gift. Seriously. Find an electric meat knife. It works so much better than an exacto knife. TRUST ME. And it's a lot quicker. Measure where you need to cut and mark it and cut it as straight as possible. If yours is perfectly straight tell me your ways. 


Once you have the foam board cut, bust out your paint and paint around all the edges [while watching Friends on Netflix, preferably]. Spray paint won't work. It eats the foamboard. If you don't believe me, try it. Do a couple layers of paint as it tends to soak in. Also, I like to paint the edges and come around the side a little bit in case my picture doesn't go on straight or some of the board is showing [because it is really difficult to get your picture on straight. ] 


Allow a few hours for the paint to dry. Next, get out your spray glue. I used Elmer's both times and it has held like a dream. I made the first picture 2.5 years ago and that picture still isn't budging.  This step is best done with a little help. Spray on your glue in an even layer. Really layer it on there too [I used almost the entire can by time I was done with both pictures]. Then enlist someone to hold the picture for you and slowly and meticulously place it on the board. Start on one end and carefully push it down, rubbing out bubbles as you go. If you've never used spray glue before, it's intense. Once you lay that picture on there it is on there. Which is why my picture of Becks ended up crooked and it makes me so upset...but whatever. I'm working through it.


Press the picture down once more by gently rubbing your palm over the picture, especially at the edges.


AND YOU'RE DONE! It's really super easy.  And now let me show you how I messed up, so you'll feel better when you do [but you probably won't because you're better than I am]. Maybe if you cut the board slightly smaller than your image, and then trim the picture after placing it on the board? 


See. That's why I paint up over the edge a bit. Okay. I need to stop looking at this because it's upsetting me again. Glad I don't have a ton of $$$ invested in this :). When you come to my house, just don't mention it.


Also, sorry about the phone pictures. It was late and I just wanted to be finished and didn't want to get my big camera. You understand. 


And here is how I hang them: Push pins. Seriously. I just make a little indention in the foam board on the back where the pin will be and I hang them that way. They are super light so they don't require much. You could even use 3M strips if you're weird anxious unsure about holes in your wall. 


I was originally making these for my bedroom. We recently rearranged and had a perfect location about our bed. But they were just too awesome to hide away in our bedroom. So I made a spot for them in the main area of our home. I love that from the living room when you see them they are just below the sign I made a few years ago that says, "What I love most  about my home is who I share it with." These two little ladies sure make our home a lot of fun. 


that is one of the lights left in our home that is originally. Brent hates it. 

You can see that the foam doesn't look fancy by any means, but it really does finish off the picture and almost looks like it is a giant canvas [for probably about 1/20th of the cost].  


I knew Blythe would like them, and she noticed them first thing the day after I hung them up. What surprised me was Becks' reaction: she loves them. I ask her where Blythe is and she points and she knows which one is her as well. They really are fun... the pictures and the girls. 


Now let me know if you make one and how it turns out! And if you have any pointers on getting your picture on there perfectly straight. 

post signature

2.18.2015

diy : journals


I am a sucker for journals. It never fails when I clean out a tote or a closet that I find about 3 or 4 old journals filled with my ever-changing handwriting and likewise changing dreams. 

A few months ago I met with some great ladies and we started brainstorming for the women's retreat at our church. We knew the focus was going to be on prayer, and we thought it would be great if we could give all the women something to keep that could remind them of what they learned at the retreat. I was volunteered to make whatever it was we would come up. I think it was because I had to be late to the meeting. 

We tossed around bookmarks as an idea and I figured that would be simple enough to make. But then we thought it would be cool if we could give all the women some prayer journals. I thought I could figure that out. 

So I looked at a few ideas on pinterest, combined a few, borrowed my dad's paper cutter, and set to work. 


They aren't huge, but they ended up being a nice addition to the retreat, and I was able to pop in some note headers and verses our speakers would be addressing.


So if you want to make one [or fifty] of these, the instructions are fairly simply:

Cut your paper in half [hamburger style < please tell me you remember these instructions from grade school?], and and then fold your two halves in half again. I used a paper cutter to make the process move quicker, and guarantee a straight cut, but you could easily do this step with scissors. Repeat for the number of pages you want [so 10 pieces of paper would give you 20 halves which would give you 40 pages, is that math right?]

Choose some fun paper or cardstock [or even leather?] for your cover. I simply laid one of my half sheets on it and eyeballed it and cut it a little bigger.

The hardest part: hole punch. If you have one of those sweet crafting punches that can punch through a million pages at once, you're golden. However, if you're like me, this step may be a little trickier if you made a lot of pages and can't punch through them all at once. But however you do it, line your holes up and punch two holes through each page [see picture below].

Then find some fun string/twine and thread it though and tie it in the center of your journal:


Bust out your washi tape and decorate the front. Or don't. It's up to you. I tend to like my journals to have lines in them, so you could maybe try and use notebook paper for the pages if you're like me. However, sometimes it is fun to have wide open spaces… 


There ya go! It would make a fun gift or even party favor for a kid's party with little crayons or something? Have fun!

post signature

1.06.2015

diy coasters; a Blythe tutorial of sorts

Shortly before Christmas I was searching for something that Blythe could make to give all the special people in her life. This girl has touched a lot of people's hearts and, likewise, we have been oh-so-wonderfully-blessed by these friends and family. I found this tutorial on how to make some really cool coasters with Sharpies, ceramic tile, and rubbing alcohol. 

It was perfect because I had everything necessary to make them except a little felt for the bottom. Brent and I redid our bathroom a year or so ago, and Brent carefully removed and cleaned off a ba-gillion tiles knowing that I would one day find a use for them. And I love Sharpies. A lot. So much so that if I ever gave my students a task/project that required the use of my Sharpie stash, I made them all raise their right hands and repeat after me: I _____ hereby acknowledge that these Sharpies are not mine, nor will they ever be mine. These Sharpies belong to Mrs. I. and if she find me at my locker with one she has the right to steal all of my belongings. I will not leave the classroom with them. I will not get anywhere near the door with them making it appear I may leave the classroom with them. I will securely return the caps. I will not press too hard. I will treat them with respect. When I am done using Mrs. I's Sharpies, I will return them carefully to the designated container. 

Or something like that. I seriously would go on for that long and make them repeat ludicrous things so that they go the point. I never had one stolen [I counted. I know.]. 

Minus the dry time, it was really pretty simple and Blythe LOVED it. 
[Here is where I must say this: Blythe is ridiculously good with colors and markers and pens etc. I knew she could use Sharpies without getting them everywhere. This may not be the best craft for your 2 year old if they normally get marker on themselves :) ] 


To make them all you have to do is gather up your supplies:
Rubbing alcohol
A syringe or straw
Sharpies
Ceramic tiles
Modge Podge
Paint brush/foam brush
Felt
Hot glue gun

Clean the surface of your tiles well. I made the mistake to soak them in water and I was shocked to find out that they hold water like crazy! Like…days and days of letting them dry on drying racks before they didn't leave a water mark! So I would suggest just gently cleaning the top. 

Then just turn your kid loose and let them design and draw to their heart's content!
*I apologize but I just snapped all of these with my phone camera instead of taking the time to get out my big girl camera*


Once the "design" is in place, use the syringe or a straw to place drops of rubbing alcohol on the surface. It very easily "pools up" so you don't want too much. I learned that if I put the alcohol near the edge of the color it gave me more of the bleed effect I was going for.


you can see in this picture that some of the colors "bled" better than others
 Wait several hours for the alcohol spots to dry. If you want to add new pools of color, you can add some new drops on top.

Once the tiles are completely dry, bust out your Modge Podge. What?! You don't have Modge Podge stocked away? Okay. Go buy some, or use some kind of spray sealer. I simply brushed a layer of Modge Podge on top of each tile to seal them, assuming that some people we would give these to would actually use them to set their coffee or sweaty water glasses on.

One the Modge Podge was dry, I cut squares of felt to fit the bottom and hot glued them. Voila!  Coasters!

Joanie, if you are reading this I obviously need to deliver yours! 

We had a lot of fun giving them to people, and Blythe would tell each special recipient, "It's for you to set your coffee on!" She was quite proud of them. We made almost 30 total!

I was a little disappointed that the results weren't as great as the ones in the tutorial. I even tried some myself and couldn't get the results. However, I think they worked perfectly as a gift from Blythe! And I have a million ba-gillion tiles left. If you didn't get a coaster, you may get one soon!

post signature